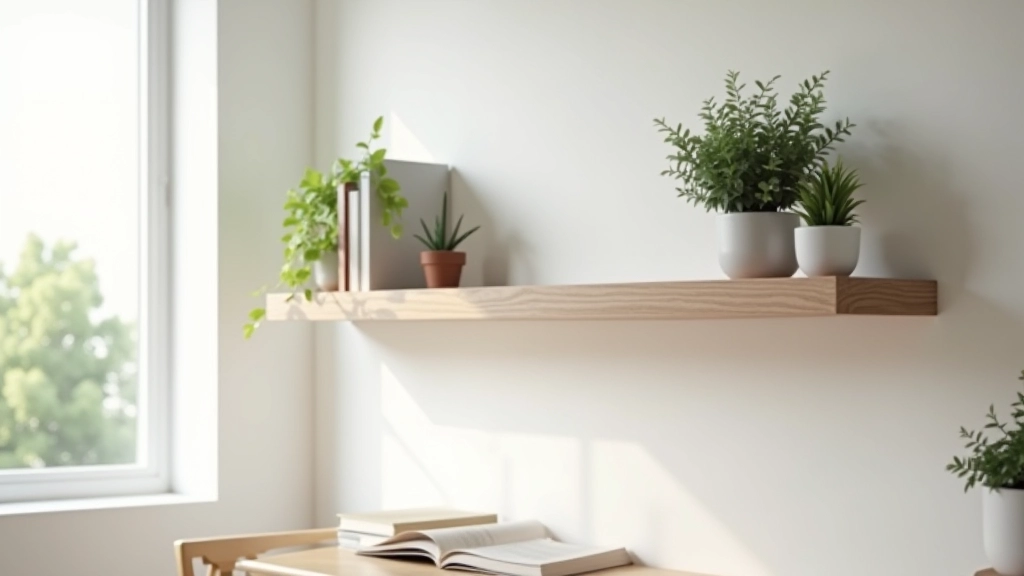
Building Your First Floating Shelf — The Right Way
Step-by-step instructions for a wall-mounted shelf that actually holds weight. We'll cover material selection, wall anchors, and finishing touches so your project turns out solid.
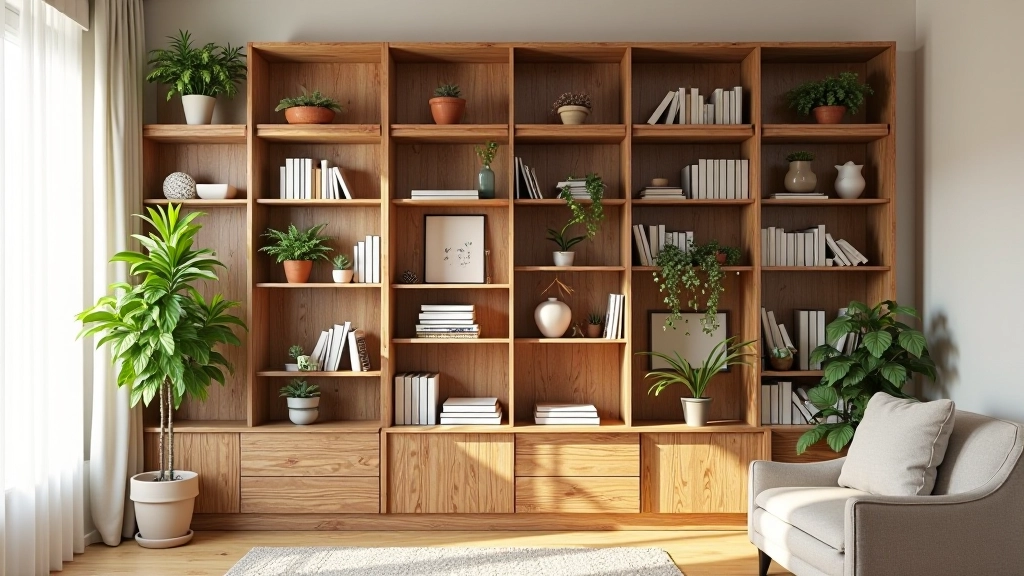
Why Floating Shelves Matter
A floating shelf isn't just about aesthetics. It's a practical solution for adding storage without cluttering your wall. But here's the thing — they're only as good as their installation. A poorly mounted shelf that sags or, worse, falls off the wall isn't just disappointing. It's dangerous.
This guide walks you through the entire process. We're not talking about complicated joinery or advanced techniques. You'll learn the fundamentals: choosing the right materials, understanding wall anchors, and finishing your shelf so it looks polished. Most beginners can complete a floating shelf in a weekend.
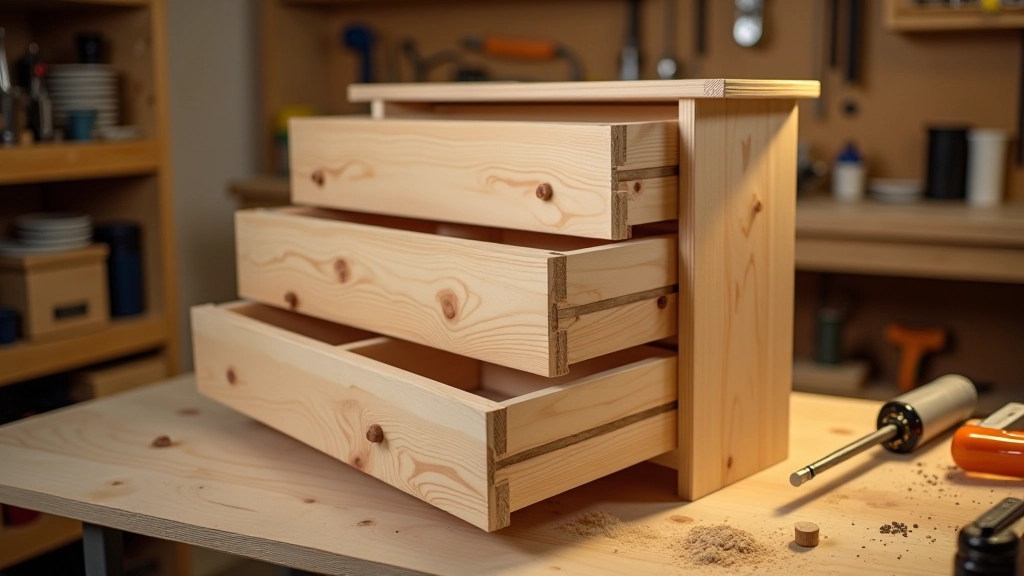
Selecting Your Materials
You've got options here. Solid wood like oak, maple, or walnut looks beautiful but costs more. Plywood with a veneer is budget-friendly and lighter — easier to work with if you're building alone. Pine works too and takes stain well.
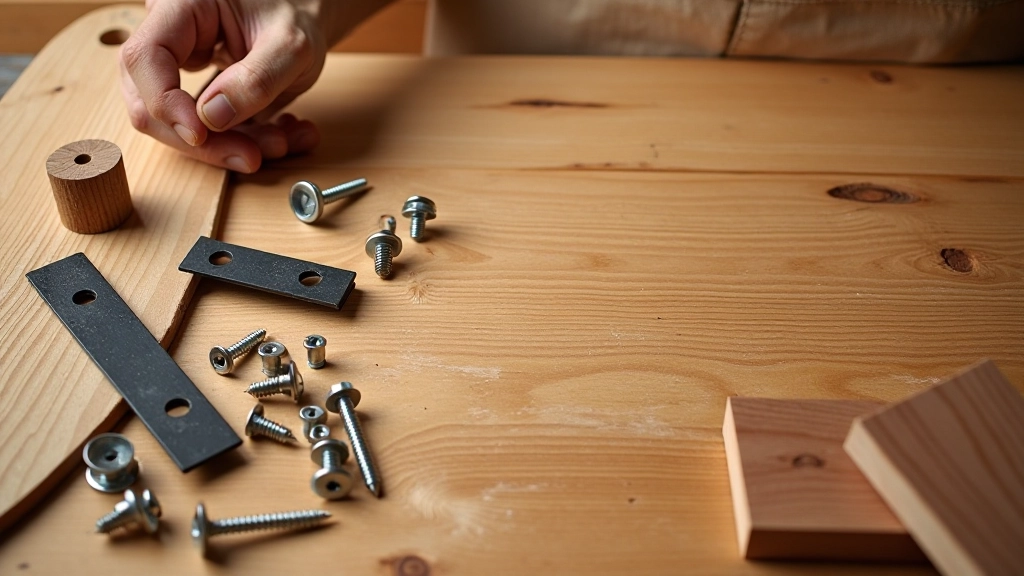
For a 36-inch shelf that'll hold books and decorative items, we recommend:
- Shelf board: 1.5-inch thick lumber or plywood (1x12 or 1x10 dimensions)
- Support brackets: Heavy-duty floating shelf brackets rated for 50+ pounds each
- Wall anchors: Toggle bolts or expansion anchors if you're not hitting studs
- Fasteners: 3/8-inch bolts (not screws) for maximum holding power
Don't cheap out on brackets or anchors. This is where your shelf's strength comes from. You're supporting weight here — possibly 30-50 pounds depending on what you put on it.
Getting the Installation Right
This is where it matters most. You'll need:
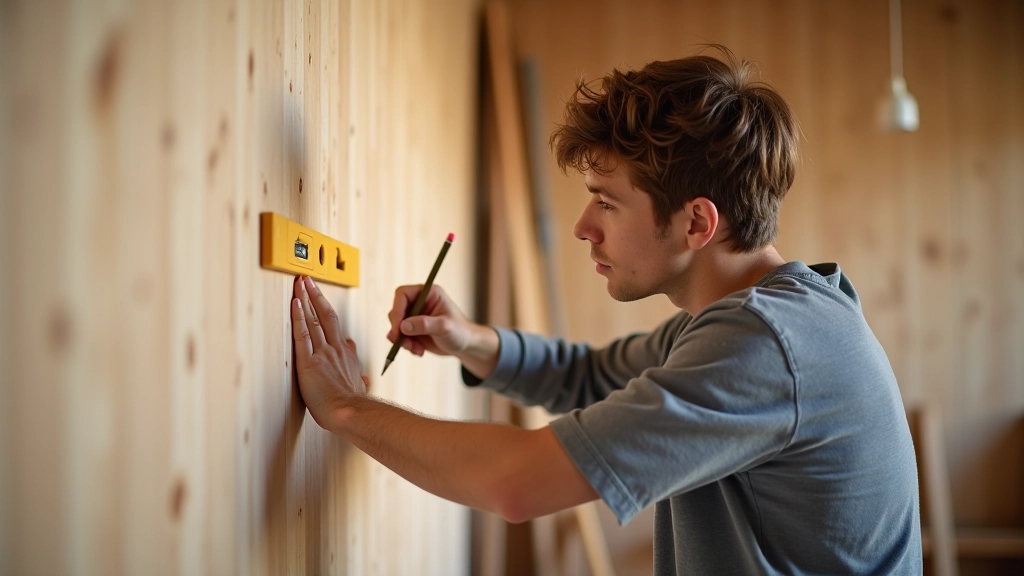
Find the studs. Use a stud finder. If your shelf is 36 inches wide, you'll likely hit at least one stud. Studs are your best anchor point — they're solid wood behind the drywall.
Mark your height. Use a level. Mark where your shelf will sit. It doesn't sound complicated, but getting it level is everything. A shelf that leans 1/16 inch looks crooked.
Install brackets. If you hit a stud, drill pilot holes and use wood screws into the stud. No studs? Use toggle bolts — they're stronger than regular wall anchors and won't pull out under weight.
Slide the shelf on. Most floating shelves have a hollow channel. The brackets fit into this channel. Double-check that it's level before you call it done.
This whole process takes about 2-3 hours including drilling and checking everything twice. And yes, check it twice. Level shelves make all the difference.
Important: This guide is educational and intended to help you understand floating shelf installation basics. Wall conditions, materials, and load capacity vary. Always check your local building codes, follow manufacturer instructions for brackets and anchors, and don't exceed weight limits. If you're uncertain about wall structure or concerned about safety, consult a professional carpenter or contractor before installation.
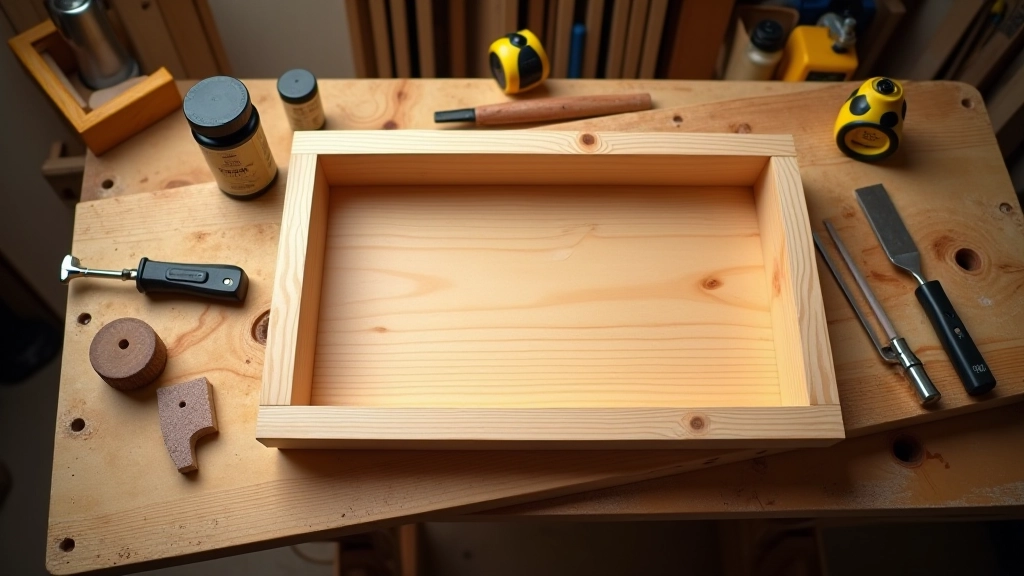
Finishing Your Shelf
Now for the part that makes it look professional. If you're using raw wood, it needs protection. You've got a few paths here. Stain brings out the wood grain — oak takes stain beautifully, which is why it's popular for shelving. Polyurethane seals it and protects against dust and moisture.
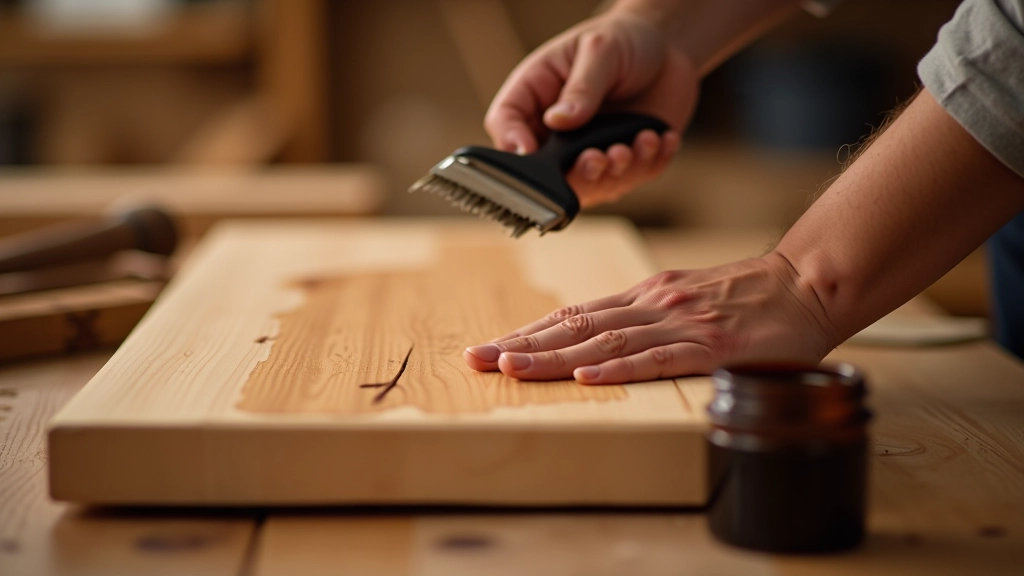
Sand your shelf first. Start with 120-grit sandpaper, then move to 180-grit. You're creating a smooth surface that'll look better and feel better to the touch. It doesn't take long — maybe 30 minutes for a shelf this size.
Apply stain if you want it. One coat usually does it. Let it dry completely — usually 4-6 hours. Then seal it with polyurethane. Two coats is standard. Let each coat dry between applications.
Pro Tips from the Workshop
Invest in a Good Level
A 24-inch bubble level costs $20-30 and makes everything easier. Don't try to eyeball it. Your shelf will look off if it's even slightly tilted.
Use Pilot Holes
Drill pilot holes before your main screws or bolts. It prevents wood splitting and makes installation cleaner. Takes an extra 5 minutes, saves headaches.
Measure Twice, Drill Once
Mark your holes with a pencil first. Step back. Look at it from different angles. Adjust if needed. Once you drill, that hole is permanent.
Respect Weight Limits
Don't load your shelf with books alone. Mix in lighter items. Distribute weight evenly. Brackets have limits for a reason — honor them.
Smooth the Edges
After sanding the face, round over the edges with 180-grit sandpaper. It looks more finished and feels better when you run your hand across it.
Test Before Loading
Once installed, gently push down on the shelf. It shouldn't move or flex noticeably. Wait 24 hours, then start with light items before you fill it completely.

Ready to Build
You've got everything you need now. Floating shelves aren't complicated — they just require attention to detail. Pick your materials, mark your wall carefully, and install those brackets right. The finishing touches are what make it look like a real project, not just something you slapped up on the wall.
Most importantly, don't rush. Take your time with measurements and installation. Your shelf will be stronger and look better for it. And when someone walks into your room and says, "Did you make that?"— that's when you know you nailed it.
Explore More Woodworking GuidesContinue Learning