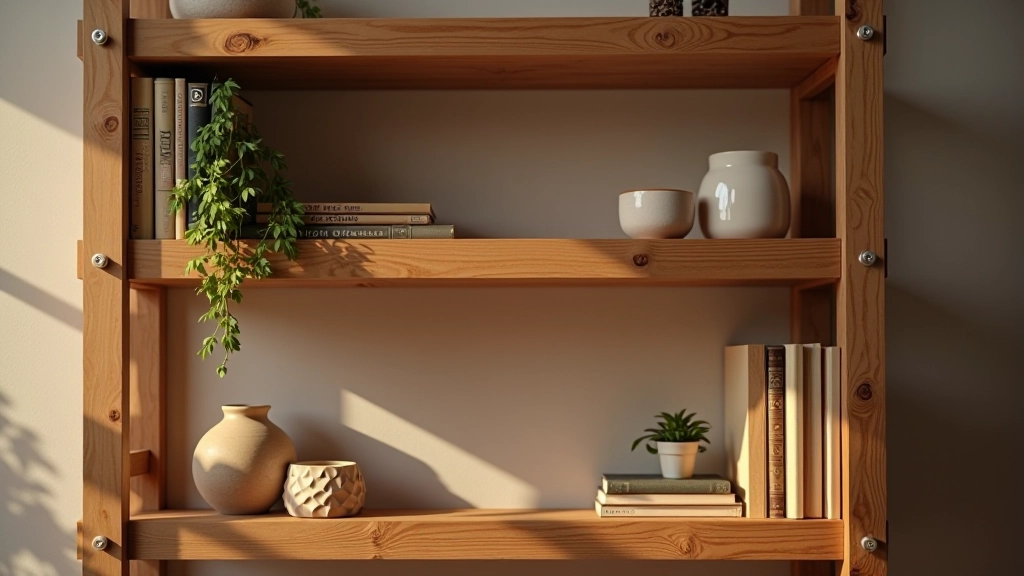
Building Your First Floating Shelf — The Right Way
Step-by-step instructions for a wall-mounted shelf that actually holds weight. Cover mounting hardware, load calculations, and common mistakes.
Finding quality reclaimed wood without overpaying. Cleaning, de-nailing, and treating old lumber before building with it.
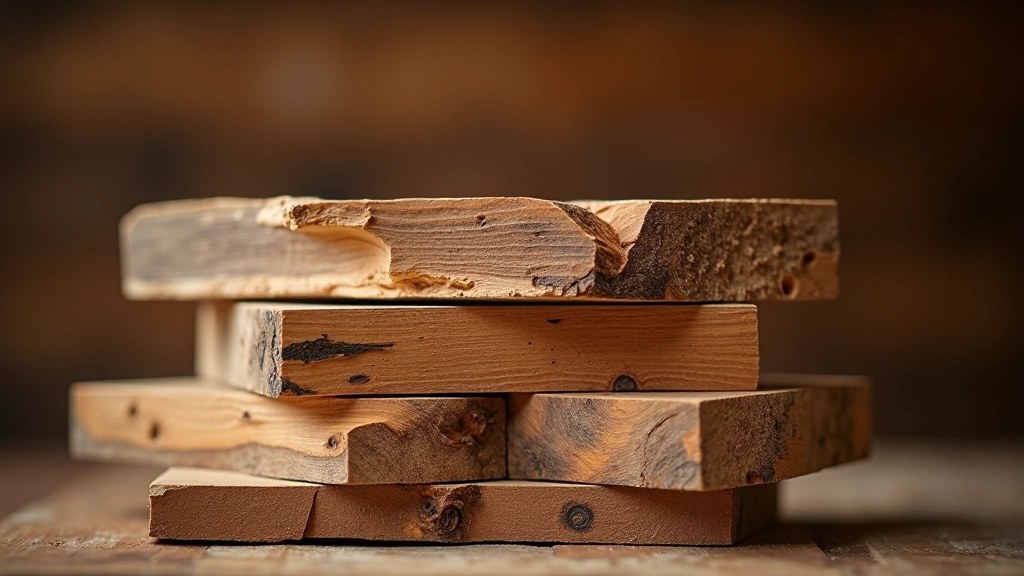
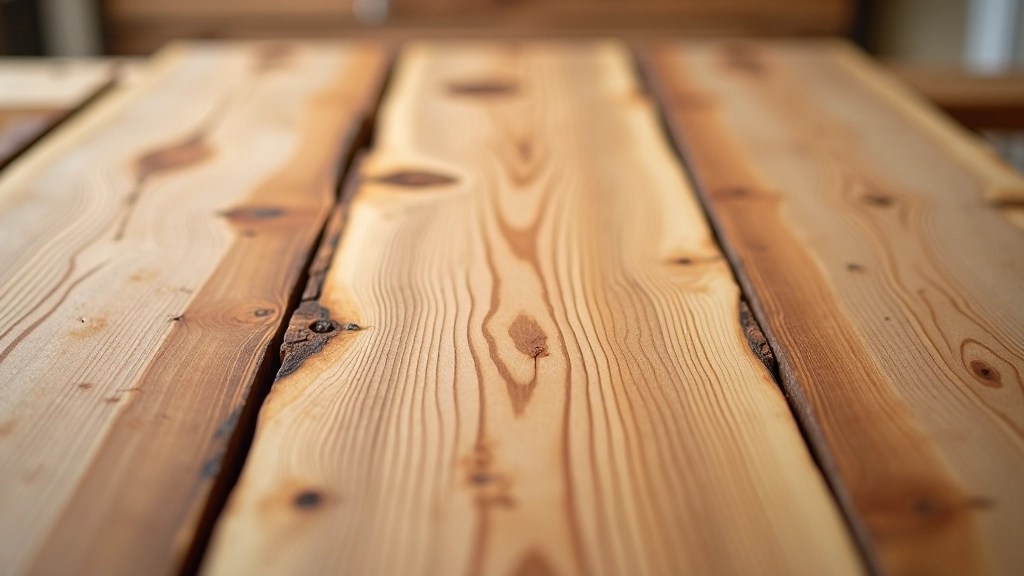
Reclaimed wood isn't just trendy—it's genuinely beautiful and often more stable than new lumber. But finding the right pieces and preparing them properly makes all the difference between a project that looks amazing and one that falls apart. We'll walk you through sourcing reclaimed wood without getting ripped off, identifying what's actually worth your money, and the prep work that transforms old boards into something you're proud to build with.
Here's the thing: reclaimed wood comes with character—real grain patterns, color variation, and patina that you literally cannot buy new. But it also comes with challenges. Hidden nails, rot, insect damage, and wood movement. The preparation phase separates people who make one-off projects from people who build pieces that last decades.
Your sourcing options range from salvage yards (expensive but curated) to demolition sites (cheap but you do the work yourself). Most woodworkers we know start with architectural salvage yards. You'll pay more per board—often €8-15 per running meter depending on wood type—but the wood's already been inspected and you're not digging through decades of garbage.
Demolition sites and building deconstruction projects are goldmines if you've got the time. Contact local contractors or join demolition groups online. You might find old-growth pine, chestnut, or oak that's literally 80-100 years old. The wood's been kiln-dried by nature. But you're doing the extraction yourself, which means carefully removing nails without splitting boards, transporting heavy material, and sorting through a lot of unusable pieces.
Estate sales and auctions occasionally have old wooden doors, beams, or barn siding. Antique dealers sometimes have reclaimed wood too, though prices tend to be higher. Online marketplaces like local Facebook groups have become surprisingly reliable—people regularly advertise old barn wood or flooring they're removing.

Before spending money, you need a quick inspection system. Start with a simple visual: is the wood structurally sound or does it have major cracks, warping, or soft spots? Run your finger across the surface. If it's deeply splintered, you can sand it. If it's soft or crumbly when you apply pressure, it's rotted and probably not worth rescuing unless it's a rare wood species.
Tap the board with your knuckles. Solid wood sounds clear and rings. Hollowed-out wood from insect damage sounds dull. You're listening for void spaces inside. Old growth wood is less prone to insect damage, but still check the ends and any dark spots. Woodworm creates small exit holes; if you see fresh wood dust inside them, the infestation is active—pass on it.
Nails are normal. You'll remove them during prep. But if a board is absolutely riddled with them or if they're driven in at angles suggesting previous failed removal attempts, calculate whether it's worth the extra work. Some boards aren't worth the time spent extracting 30 hidden nails.
This is where patience separates successful projects from damaged ones. Rushing through nail removal will split your boards. You'll want a good pry bar (not a hammer), a nail puller, and honestly, a metal detector if you're doing large volumes. Metal detectors find hidden nails you'd otherwise hit with your planer and potentially wreck your equipment.
For nails you can see, slide the pry bar underneath and work it slowly back and forth. Don't yank straight up—that's how you split wood. Rock it gradually until the nail lifts slightly, then move the bar further up the nail and repeat. If a nail is stubborn, try tapping the pry bar side to side to loosen it before lifting.
For nails you can't see—and there will be some—a metal detector is your friend. Drag it across the board surface. When it beeps, mark the spot with chalk. Then carefully pry from that location. You're spending maybe 30 seconds per board instead of risking €200+ in planer damage.

Once nails are out, brush off loose debris with a wire brush. Don't use a pressure washer—you'll raise the grain and damage the patina you paid for. A stiff wire brush and some elbow grease works fine. You're removing surface dirt, old paint chips, and loose fibers.
If the wood had old paint or finish, you might want to strip it. Chemical strippers work but are messy. Some builders just sand away the finish since they're sanding anyway. If you're keeping the natural patina, be gentle—you want that aged character intact.
Treatment with boron or borate solutions prevents future insect damage without changing the wood's appearance. It's especially important if you're building something that'll be in a moist environment like a kitchen or bathroom. Apply it before sanding so it soaks in. It's cheap insurance against discovering woodworm in your finished project three years later.

This guide is educational and meant to help you understand sourcing and preparing reclaimed wood. Your specific project needs, local building codes, and material conditions may vary. Always inspect wood carefully before use, and when in doubt about structural integrity or treatment requirements, consult with an experienced woodworker or structural engineer. Safety and proper material selection are your responsibility.
Here's where you decide: do you want a smooth finish that shows off the grain, or do you keep the rustic surface character? Many reclaimed wood projects look best with minimal sanding—just enough to remove splinters and rough spots. This preserves the patina and weathered look you paid for.
If you do sand, start with 80-grit for major surface cleanup, then 120-grit for smoothness. Don't go finer than 150-grit on most reclaimed wood—finer grits can clog quickly because of the material variation. Use a dust mask. Old wood dust isn't just annoying; it can contain particles from old finishes or treatments.
For finishing, water-based polyurethane or oil finishes work well. They'll protect the wood while letting the grain and color show through. Some builders use nothing—just letting the wood age naturally. That's fine if it's not in a high-wear area. But for something like a shelf that'll hold weight and get regular use, a protective finish makes sense.
Sourcing and preparing reclaimed wood takes real work. It's not faster than buying new lumber. But when you build something with boards that have 80 years of history in them—wood that's been through seasons, weathering, and time—you're creating something with authentic character. That's why woodworkers keep coming back to it.
Start small. Pick up a few boards from a local salvage yard. Learn your de-nailing process. See how the wood behaves as it dries and moves in your workshop. Once you've done a project or two, you'll develop instincts about what's worth your time and what's not. And you'll start recognizing the best pieces before anyone else at the salvage yard does.
The preparation phase isn't glamorous. But it's where you prove you're serious about craftsmanship. And honestly, there's something satisfying about taking material that would've ended up in a landfill and turning it into something beautiful and functional in your home.