
Getting the Fundamentals Right
Here's the thing about wood finishing — it's not magic. It's just chemistry and patience working together. You'll see pros make it look effortless, but that's because they've learned what actually works and what doesn't. The difference between a finish that lasts five years and one that lasts twenty? Understanding what you're applying and why.
Wood moves. It swells when it's humid and shrinks when it's dry. Any finish you apply has to move with it, or it'll crack. That's why some finishes work brilliantly on one piece and fail on another. We're going to walk through the main options — what they do, where they work best, and exactly how to apply them without ending up with a streaky mess.
Stains: The Starting Point
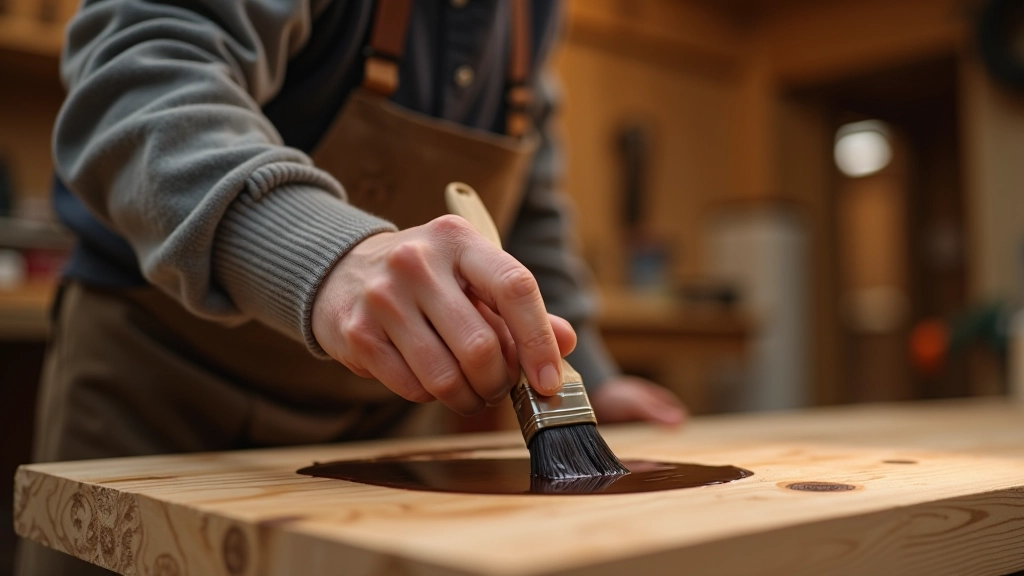
Stains don't actually protect wood — they just color it. But they're crucial because they're your first step before protection. Water-based stains dry in 1-2 hours. Oil-based stains take 8-12 hours. The trade-off is pretty straightforward: water-based is faster and cleaner, but oil-based gives richer color and deeper penetration.
Here's what actually matters: grain raising. When you apply water to wood, the fibers swell up slightly, creating a rough texture. That's why experienced finishers sand between coats. After your first stain coat, let it dry fully, then hit it with 150-grit sandpaper. You're just taking off the raised grain — it only takes a minute. Your next coat will go on smooth and even.
Pro Tip: Wet the Wood First
Before staining, dampen the entire piece with water. Let it dry completely. This raises the grain intentionally, so when you sand it smooth and then stain, you won't get that rough texture appearing later. Sounds counterintuitive, but it works.
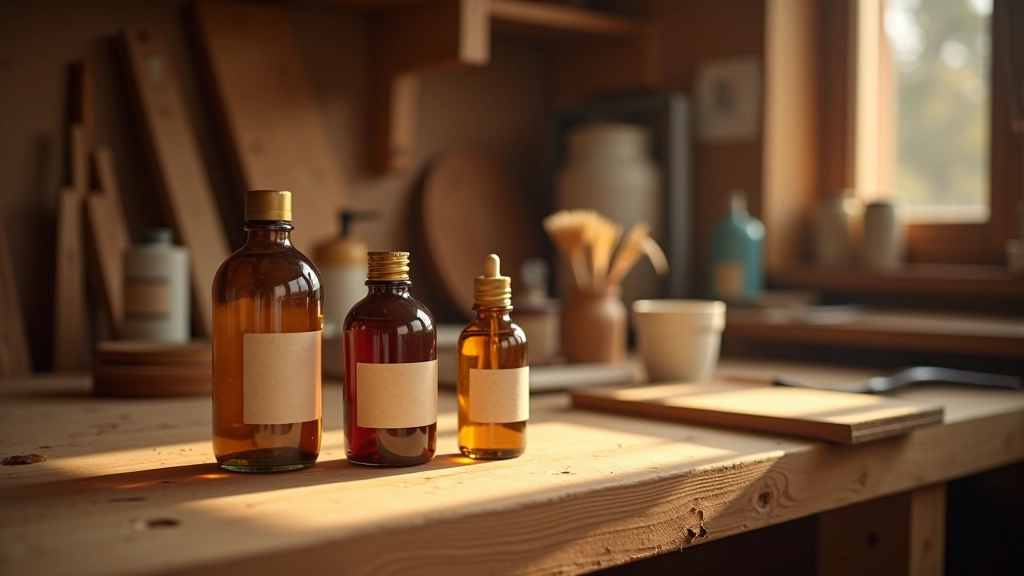
Oils: The Maintenance Finish
Oils don't create a hard protective layer like polyurethane. Instead, they soak into the wood and harden inside the grain. That's why oil finishes feel like actual wood, not plastic. But here's the catch — they need reapplication. Every 6-12 months, depending on use, you'll need to oil again. It's not a set-it-and-forget-it approach.
Tung oil and Danish oil are the workhorses here. Tung oil is pure — it's literally just hardened tung nut oil. Danish oil is a blend of tung oil, mineral oil, and resin, so it dries a bit faster. For a dining table that gets actual use, you want something that'll show character and patina over time. That's where oil shines. One coat every few years keeps it looking alive instead of plastic.
The application is simple: brush or cloth it on, let it soak for 15-20 minutes, wipe off the excess. Don't leave it pooling. If you do, it'll turn into sticky spots that take forever to dry.
Safety and Variability Note
These techniques work for typical household furniture and woodworking projects. Results vary based on wood species, grain structure, humidity levels, and ambient temperature. Always test finishes on scrap wood first. Some oil-based products are flammable — ensure proper ventilation when applying. This information is educational; individual projects may require different approaches based on specific circumstances.
Polyurethane: The Protective Barrier
This is where you get actual protection. Polyurethane creates a hard shell that sits on top of the wood. Water doesn't soak in, scratches are harder to cause, and it lasts years without maintenance. But you can see it and feel it — it's not wood anymore, it's a coating.
Oil-based polyurethane gives a warmer appearance and deeper color. Water-based polyurethane dries faster and doesn't yellow over time. For a shelf that needs to look natural, water-based wins. For a table in a cabin where aging actually looks good, oil-based works better.
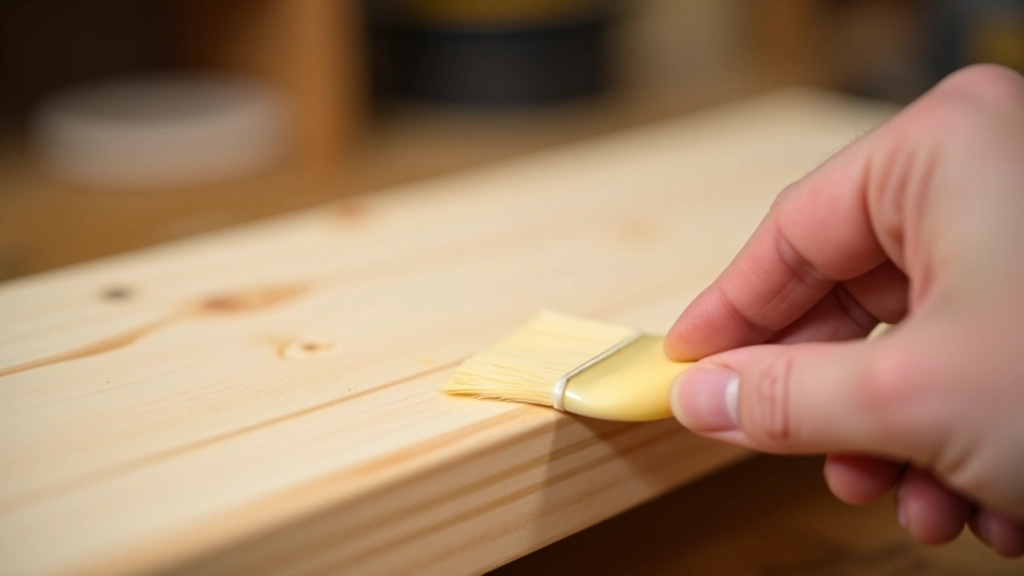
The tricky part is application. Polyurethane is thick. If you slap it on like stain, you'll get brush marks and bubbles. Thin coats are the rule here. Use a quality brush — cheap brushes shed bristles into your finish. Dip just the bottom third of the bristles. Apply in long, smooth strokes, overlapping slightly. Don't go back over what you just did. Let each coat dry 3-4 hours, then sand lightly with 220-grit paper before the next coat. Most furniture needs 2-3 coats.
The Complete Finishing Process
Prep the Surface
Sand with 80-grit to remove rough spots and old finish, then progress to 120-grit, then 150-grit. You're smoothing the surface, not removing wood. Wipe with a tack cloth to remove dust.
Raise the Grain
Dampen the wood with a wet cloth, let it dry, then sand with 150-grit. This prevents surprise roughness after your first stain coat.
Apply Stain
Brush on stain, let it sit 5-15 minutes (check the can), then wipe off excess. Darker wood needs longer sitting time. Let dry fully — don't rush this.
Sand Between Coats
Light sand with 220-grit to remove raised grain and help adhesion. Don't sand hard — you're just roughing the surface slightly.
Apply Protective Finish
Thin coats of polyurethane, oil, or wax. Multiple thin coats beat one thick coat. Let dry fully between applications.
Making Your Choice
The best finish depends on what you're building and how it'll be used. A cutting board? Food-safe oil. A bookshelf in a living room? Polyurethane gives protection without maintenance. A coffee table that gets real use? You might want both — stain for color, then polyurethane on top for durability.
What won't work is assuming one finish fits everything. It doesn't. But once you understand what each one does — stains color, oils age beautifully, polyurethane protects — you can pick what makes sense for your project. And honestly, that's when finishing stops feeling like a chore and starts feeling like the final detail that makes your work actually last.